
How to Make Milk Kefir
A Step-by-Step Guide To Reactivation
Day 1 to 7
Step 1: Prepare Your Jar Place the kefir grains in a glass jar. Add ½ cup of milk (125ml) and cover the jar with a fabric jar cover or a paper coffee filter. Secure the cover with a rubber band. Keep the jar at room temperature (19-25°C), away from direct sunlight.
Step 2: Mix and Activate After 8 hours, gently mix the contents using a clean spoon or by lightly shaking the jar. This step ensures the milk comes into full contact with the grains, aiding in the fermentation process.
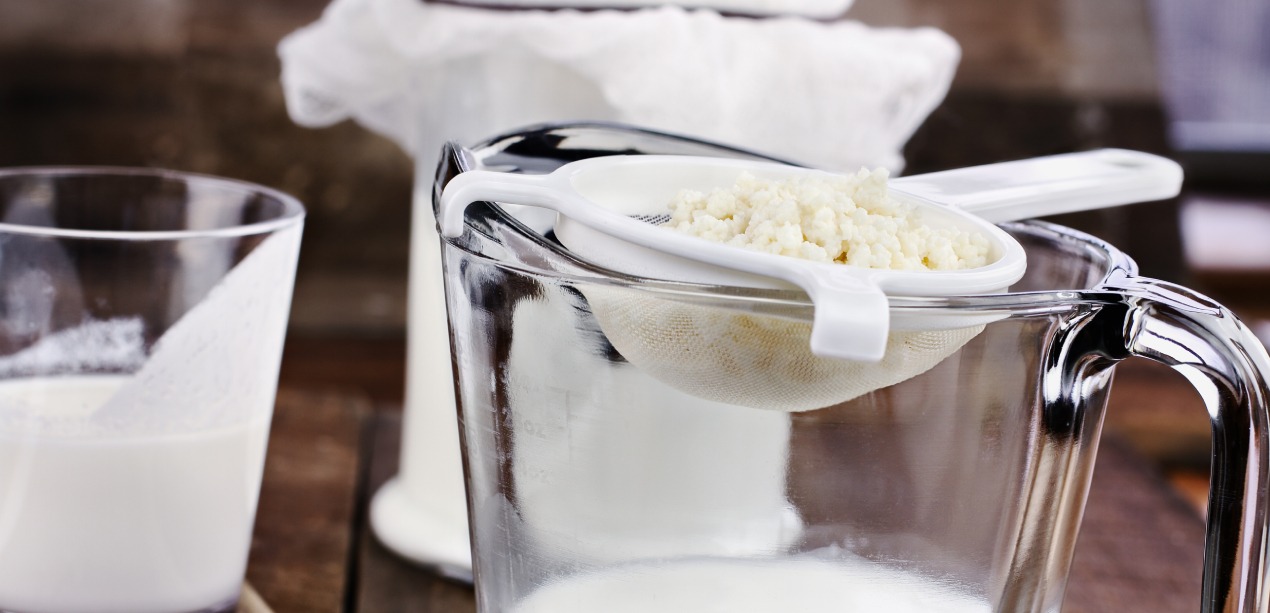
Step 3: Strain and Repeat After 24 hours, stir the kefir, and then strain the grains using a fine mesh sieve to collect the small grains. Discard the milk. Repeat this process daily to properly reactivate your grains.
Step 4: Taste Testing Start tasting the kefir on day 3. Consume it as soon as the aroma and taste are satisfying, typically around day 5 to 7.
Step 5: Enjoy and Store Once signs of fermentation appear (thickening and acidifying of milk, usually between day 3 and 7), you can start enjoying your kefir. If you have excess, store it in a sterile container tightly covered in the refrigerator for up to 1 week.
Step 6: After day 7 Continue making kefir regularly to maintain a healthy amount of active grains. With each fermentation, your grains will strengthen. Over time, you may need a larger sieve to properly separate the grains from the kefir, as they grow thicker. Around 4 weeks, your kefir grains will begin to grow and multiply significantly.
Explore Milk Kefir Recipes Have fun experimenting with different kefir recipes from our website!
Ready to Watch and Learn? Scroll down for video instructions on how to make milk kefir!
Feel free to check out our FAQ or contact us if you need further assistance. Enjoy your homemade milk kefir!
EXPLORE MORE:
WATER KEFIR
– Water Kefir Grains
– Instructions
– FAQs
– Troubleshooting
– Flavouring Ideas
MILK KEFIR
– Milk Kefir Grains
– Instructions
– FAQs
– Breakfast Recipes
– Smoothies
– Dessert Recipes
PRODUCTS
– All Products
BLOG
– Kefir Blogs
CONTACT US
– Get In Touch
Tags:culturedairyDIYfermentationflavorgrainhealthhow to videosingredientskefirmethodmicrofloramilkmilk kefirprobioticsSCOBYstrainsugartemperaturetimetutorialyogurt